Tuesday, December 22, 2020

Savory Pies With a Lot of Help From Erin Jeanne McDowell's "The Book of Pie"

    My husband, Jules came back from a trip to Alaska over a year ago raving about salmon pasties, little hand pies that were stuffed with a savory salmon filling. Since Alaska has super fresh salmon, they were unbelievably amazing. He's been begging me to make them ever since. 


Here's the thing: I'm a cook. 

    I like to experiment and change things up based on what I have in the house and throw in a little of this and that based on intuition. That's not great with baking. There's a lot of science involved and ratios should be followed. So, I'm no exceptional baker. I'll admit, when Jules sent me the recipe for some salmon pasties I was a bit intimidated and it looked like A LOT and the ingredient list for that particular recipe was a mile long. I needed something I could make with things I usually have around the house.  

But then something great happened. My dreams came true. 

    After I dropped hints for several weeks, Jules bought me Erin Jeanne McDowell's The Book on Pie as a gift. I follow Erin on Instagram and had watched this YouTube tutorial on making the perfect pie crust. I felt ready. 


    I scoured her book for a savory pie recipe to adapt for salmon and I really didn't need to look far. Her chicken pot slab pie was the first savory pie recipe listed in the book and was essentially a classic pot pie recipe -think: onion, celery, carrots, and peas- BUT WITH A BOTTOM CRUST, THANK GOD. This was the perfect recipe to adapt for salmon. 

    I added a couple potatoes, subbed veggie stock for the chicken stock that was called for, and used her rough puff pastry recipe for the top and bottom crusts. About six hours later, the result was two beautiful savory salmon pies. 


Two major take-aways: baking rough puff pastry takes time. Egg wash is what your pie is missing.

    I read through the recipe and noticed all of the "chill" times and sort of mapped out my day, but man, this took some time. And more time than I thought. One of the things Erin says in her video is to feel free to chill the dough any time it starts to feel soft and sticky. I think this is great advice and I followed it a couple of times, just to be sure. Solid butter is really important for achieving lamination (layers of dough). 


    So, especially since this was my first time, I probably let the dough chill longer and more often than necessary, but if you're in my boat and are fresh to pastry dough, I highly suggest allowing yourself plenty of time - like a whole day- to make something with rough puff. It was worth it for me. This dough was super flakey, almost like phyllo dough in some places. 


    The egg wash. I am a huge Great British Baking Show fan, so I've seen people use egg wash on baked goods, but in person I was really blown away by the difference. The egg wash made the pie such an appetizing color and really added a professional, shiny finish. I can't go back!


Crusty

    As I mentioned, I made two pies. Erin's original recipe was actually for a two-crust pie baked in a casserole dish, but I wanted it to look more traditional, so I baked it in two batches in two pie plates. Because of this, we had one pie for dinner and one for later which I popped into the fridge. I was a bit worried about the filling making the dough soggy overnight, but this was a very sturdy pie crust. I was able to take the entire pie out of the pie plate the next day and the bottom was still crispy and firm.


    In fact, the crust was a tad dry. I'm not sure if this was because it was rough puff or if I didn't add quite enough water to the dough originally, but I think I might do two things. 1.) Add more water to the dough next time and do rough puff again and 2.) Try this pie with Erin's "All-buttah" dough to see if I can get the moisture I'm looking for while still having a sturdy pie.

The Recipe

    Unfortunately, I can't give you the recipe here. I don't think I deviated far enough from Erin's recipe to call it my own. I wholeheartedly recommend her new book if you love pie. She really lays it out and has come up with so many amazing ideas for crusts, fillings, and decorating. I can't wait to try another pie from her book. I also recommend watching her instructional videos. She is really great at showing steps in detail and explaining why she uses specific methods and tools. She is often featured by Food52 and NYT Cooking on their YouTube Channels.


Wednesday, March 1, 2017

Tomato Bisque Update: Simplify and Add Coconut Milk

I had a huge craving for tomato bisque this week. It's been stormy here in Cincinnati and I wanted a cozy soup. I've been on a real canned coconut milk kick lately, throwing it in rice with lime and making a yummy curry mushroom dish. Tonight, I was looking for another way to add some creaminess to my bisque. My go-to is greek yogurt, because that sour flavor is so yummmmm with tomato and I hardly ever use heavy cream. I'd rather save on the calories in the soup and have a side of good cheddar!

Here's the recipe I came up with tonight. I thought the basil and coconut played really well together and there was an interesting aromatic experience between the two...in a good way. Also, it made a great weeknight meal. We ate it with a side of avocado and egg toast that was topped with Sriracha.


Tomato Coconut Basil Soup
25-30 minutes 
Special Equipment: 
4 qt soup pot
Food processor* (optional, but makes things way easier)
Wand blender*


Extra Virgin Olive Oil
1 lg yellow onion, diced
2 TBSP minced garlic (I used the jarred kind)
2 28oz cans San Marzano Whole Tomatoes
2.5 oz basil (this is a fairly large package)
1 13.5oz can Coconut Milk
Approx 24oz Chicken Stock (about 3/4 of a quart)
Kosher Salt and Pepper to taste

Heat EVOO over medium heat. Add onions and salt them. Then, sweat until nearly translucent. Add garlic, stir frequently to avoid burning. Cook for about 4 minutes. Add tomatoes and any juice from cans. Cook at a simmer, stirring occasionally for approximately 10 minutes. Add chicken stock to tomato mixture, stirring to incorporate. Let simmer for 3-5 minutes. 

In the meantime, in a food processor, chop basil until blade is spinning freely and basil has been thrown onto the sides and is very finely chopped. Carefully use a spatula to empty can of coconut milk into food processor with the basil. Blend in the food processor for approximately 20 seconds or until coconut solids are blended in and it has a soupy consistency. 

Taste tomato mixture to see if it needs more Kosher salt. Remember, the stock flavor may increase the salty taste after simmering a bit longer, depending on your stock, so only add a small amount of salt at a time. Stir coconut basil mixture into the tomato soup. Add freshly ground pepper. 

Using a wand blender, CAREFULLY blend the soup for about 2 minutes or until all chunks from whole tomatoes are smooth and bubbles/foam from the coconut milk appears at the top of the soup. Be sure to keep the wand submerged at all times or molten hot tomato goodness will fly in all directions. Simmer for 5-10 minutes more. Taste once more for seasoning. 


*If a food processor and wand blender aren’t available, substitute a regular blender. However, DO NOT attempt to blend hot soup. Instead, blend the tomatoes before adding them to the pot or buy crushed tomatoes. Basil can be hand diced and blended with the coconut milk in a blender, or simply hand diced and added to the soup first, then stirring in the coconut milk. 

Monday, May 6, 2013

Jules' Garlic Bacon Grilled Cheese Sandwiches

     Luckily, the love of my life also happens to make the most delicious grilled cheese sandwich I've ever had, and he has agreed to share the recipe with you.  After you try it, he will also be the love of your life.  

Ingredients

sliced organic whole wheat bread
organic aged sharp cheddar cheese
1 package organic Bacon*
reserved bacon lard, cooled until solid 
1 large clove of garlic per sandwich, finely chopped

     In a cast iron skillet, cook a package of bacon to desired crispiness, placing cooked bacon on a plate covered with a paper towel. Reserve all drippings in a bowl or sanitized jar and cool, until solidified, in the refrigerator.  This picture is of turkey bacon, but I suggest using beef bacon, because turkey bacon really doesn't have enough fat to make drippings.  Luckily, I already had some bacon drippings saved in the fridge. 


       Once the drippings have solidified, spread a thin layer of the lard on one side of each of the slices of bread.  Cut thick slices of the aged cheddar and arrange on the un-larded side of one slice of bread, place a single layer of bacon slices on top of the cheese, and cover with one of the remaining slice of bread for each sandwich, making sure the lard side is on the outside of the sandwich.  This is basically the same as prepping a normal grilled cheese sandwich, but substituting bacon lard for butter or margarine.  I know that some people butter both sides of their bread when making grilled cheese, but bacon fat has enough flavor and salt that it would be overkill if spread on both the inside and the outside of the sandwich.


          Heat a teaspoon of the lard in a cast iron skillet.  Sprinkle about 1/2 teaspoon of the minced garlic within a sandwich-sized area of the pan.  Place one sandwich on top of the sprinkled garlic in the pan, lard-side down and heat until the cheese is melts, flipping as necessary to avoid charring the bread.


       At this point, depending on the texture of the bread you are using, you may have to press the sandwich to get it evenly toasted and to ensure the cheese melts completely.  I have developed a seemingly strange, but effective apparatus to do this, and I encourage you to come up with your own effective system, or adopt one similar to mine.  I place a wide, but very thin spatula on top of the sandwich to distribute the weight of a small custard ramekin, and I place the frying pan lid on top.  I find that by using a frying pan lid as a weight, it also helps to keep some heat in the pan, but is up high enough from the pan that steam doesn't fall onto the sandwich and make it soggy.  I know Pampered Chef and Williams Sonoma actually sell really nice, cast iron presses that are specifically for this purpose, but I don't feel an immediate need for one, especially when I can use my own really hip looking pressing technique.  


       The photo of the final product is below, in my wonderful Tomato bisque post, which is exactly what we like to eat with this amazingly rich garlic bacon grilled cheese sandwich.  Let me know what you think.  Enjoy!


* When I eat meat, I use USDA certified organic meats and dairy, whenever possible, because "The USDA organic seal verifies that producers met animal health and welfare standards, did not use antibiotics or growth hormones, used 100% organic feed, and provided animals with access to the outdoors." 


My only alternative to USDA Certified Organic meats and dairy, is buying meats that I feel come from animals that have been humanely treated, based on the Whole Foods 5-step Animal Welfare Rating Standards system.


I encourage you to use these systems to make your own judgements about where your food comes from and how it has been raised.

Incline Public House Provides Peak Flavors


       Wow!  What an incredible location.  It has the view of Prima Vista at a fraction of the cost. The prices are very reasonable. The ambiance is lively and down-to-earth.  Incline Public House is a great place to go with friends or family who don’t mind talking over loud-ish music.  I went on a weekday night and the food came out faster than almost any other joint in Cincinnati. The staff was really upbeat and efficient.  

I had a Honey Bee cocktail, which was delicious, not too sweet, and averagely priced.  Even my partner liked it, and he’s not into sweet cocktails.  The beer list here is extensive, so there is something for everyone. 
Incline Pub specializes in wood-fired pizzas and hot sandwiches.  AND THE ONION RINGS.  Oh my gosh. Just try them.  They were perfect.  The best I’ve ever had. Ever.  Anywhere. Perfectly breaded, really crispy and fresh tasting.  I’m not an onion ring aficionado, in fact I rarely eat them, but these were exactly right. 

I really appreciated the vegetarian options here, both for pizza and sandwiches. Although the food comes out as fast as lightening, everything is made fresh and from scratch, whenever possible. The portabella mushroom sandwich was overflowing with roasted peppers and goat cheese.  I could easily say it was the most flavorful portabella sandwich I’ve ever had, and was served hot.  There was no soggy, cold portabella experience (the worst!) here.  The pizza was excellent too.  The crust was crispy with delicious cheese and zesty veggies.
The seating arrangement doesn’t allow for as many people as I would think could be packed into this place, but there is a decent sized deck along the entire city-facing side of the building, which will allow for a lot more seating during warm months. I’m looking forward to returning soon to eat outside.  

     
       Sorry, I would have loved to show you a beautiful food photo from Incline Public House, but I was so focused on the food that gobbled everything up before I came to my senses and realized I should have photographed the meal!

For a full menu and more info visit the Incline Public House website: http://www.inclinepublichouse.com/asp/index.asp

Sunday, May 5, 2013

Roasted Tomato and Onion Pesto Bisque

 
     This soup recipe can be made two ways, either using entirely fresh ingredients or the weeknight cheater way, which uses the help of canned roasted tomatoes.  I originally started making this recipe for a few weeks last summer when we were getting 7-12 pounds of tomatoes per week from our CSA (community supported agriculture), http://www.enright-csa.org.  I needed a way to use the mountain of tomatoes piling up in my kitchen before they all went bad, and I wanted something more substantial than salsa.  The result was a chunky, flavor-packed tomato bisque that we usually pair with my partner's insanely delicious garlic bacon grilled cheese sandwiches.  Go do a triathlon before eating this meal.  It's a hearty one!

Ingredients

For roasting:
2-3 tbsp Extra-Virgin Olive Oil
4 lbs. Roma tomatoes, halved
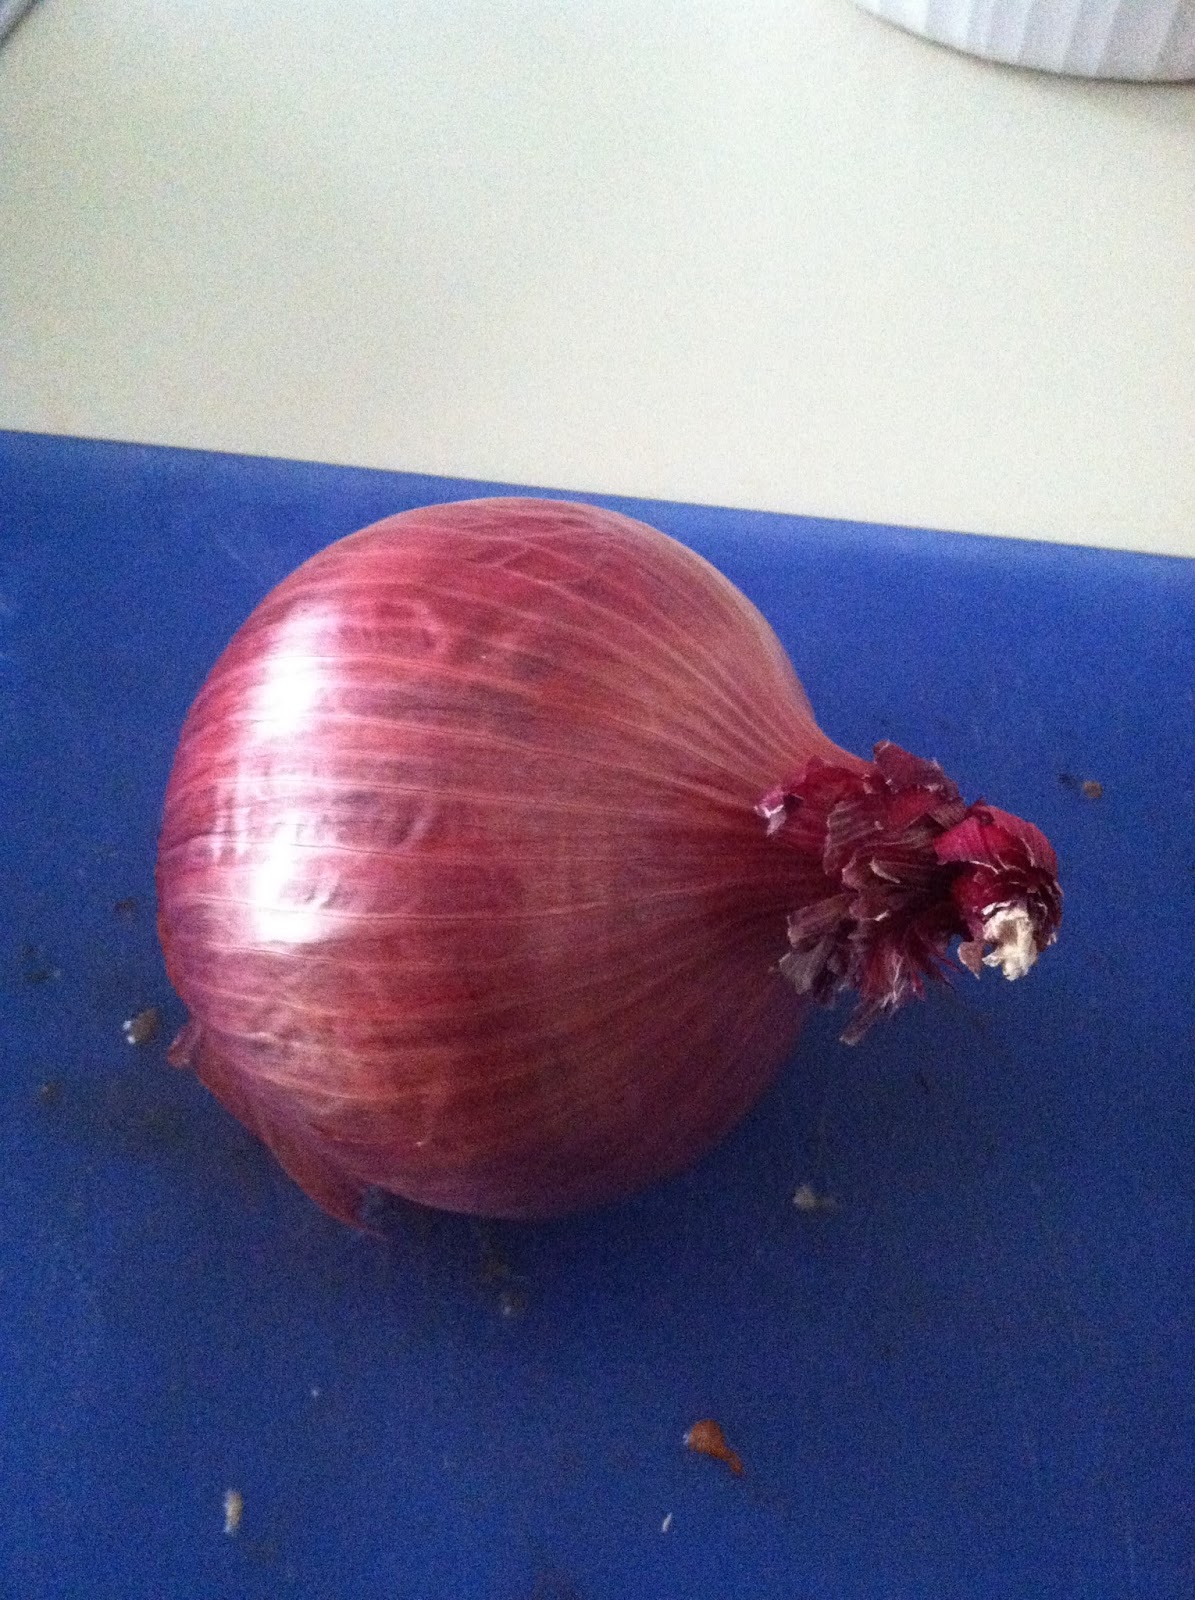
2 onions, roughly chopped.
Kosher salt

For pesto:
3-4 garlic cloves
Fresh basil (enough for 2 cups when finely chopped)
1/3 cup natural almond butter, without any salt or sugar added
Kosher salt

For bisque:
1/2 6 oz. can of tomato paste (I use Muir Glen Organic Tomato Paste)
2-3 cups organic free range chicken broth
1/2-1 cup organic greek yogurt, which can be substituted with cream or half & half, if desired
Freshly shredded Parmigiano Reggiano as garnish

Preheat oven to 375 degrees.  Line a baking sheet with parchment paper.  Halve all of the Roma tomatoes and place them skin-side down on the baking sheet.  Place chopped onion around the tomatoes where there's room.  Drizzle olive oil over everything and sprinkle with salt to taste, tossing by hand to coat.  Roast for 30 minutes or so, until skin on tomatoes is wrinkled and tomatoes are bubbling.  If you have left-over onions and tomatoes that didn't fit into the baking sheet, just sauté them in your soup pot with a little bit of olive oil and kosher salt.

In a food processor, process the garlic cloves and add the fresh basil leaves until you have about 2 cups chopped basil.  Add about 1/4-1/3 cup of EVOO and a pinch of salt to make a paste.  The paste doesn't need to be very runny at this point, just wet enough to not fly all over the place in the food processor.  At this point, I pulse in about 1/3 cup almond butter to the basil mixture, in lieu of the traditional pine nuts, because almond butter is something I usually have around the house more often than pine nuts.  If pine nuts are more accessible for you, then try substituting them after lightly toasting them in a pan over the stove.


When the tomatoes and onions are done roasting*, transfer them and roasting juices to your soup pot.


Add the pesto and tomato paste, stirring to combine.


Heat this mixture, stirring occasionally, bringing it to a simmer to incorporate the flavors a bit before adding the chicken broth, maybe for about 5 minutes or so, depending on how much liquid you have from the tomatoes.  Do not let the mixture stick to the bottom of your pot.  If that starts happening, it is time to add some broth.  Add the 2 cups of broth or more, based on preferred consistency, and simmer on very low for about 20 minutes.  Blend with an immersion blender**.


Cool slightly and then mix in the greek yogurt to create a creamy bisque.  This last step it completely optional.  I sometimes skip the yogurt if I am in the mood for a really tomato-y bisque.  Be aware that adding the creamy component will dull down the flavor slightly.


*If you don't have enough fresh tomatoes on hand or don't have time for roasting, use two 28 oz. cans of fire roasted, diced or crushed tomatoes as a substitute and add them after starting by sautéing the onions in the pot with EVOO and kosher salt.  I prefer Muir Glen Fire Roasted tomatoes, because the flavor is very similar to home-roasted tomatoes.

**An immersion wand blender works best for pureeing soup safely. If you do not have an immersion blender, carefully transfer the soup in small batches to a regular blender, taking care to open the top vent, cover with a towel, and hold the lid down firmly while blending, using the lowest speed possible, so that the heat and pressure do not make the blender top fly off and scalding soup fly all over!  The blender should never be more than half full when blending soup.  If you are using an immersion blender, take care to keep the blade portion below the surface while blending so that hot soup does not fly out at you and your kitchen.


Tuesday, April 23, 2013

How To Properly Cut An Onion

       One thing I notice whenever I cook with friends and family is that some people really seem to have a heck of a time cutting onions. It takes people forever.  Let's be honest, you want to get it over with as soon as possible.  I'll admit, I learned my technique from Food Network's, Anne Burrell, on her show Secrets of a Restaurant Chef.  If I ever get to see her in person, she is going to have to endure a giant, smothering hug from me, because she has saved me so much time and has probably also saved my fingers.  This is the fastest, safest way to cut an onion that I have seen.

       To start, look at your onion.  On one end, there is a mass of roots, and on the other end there is a point of onion peel.

Your first cut, should be cutting of the peel end, just slightly behind this point of onion peel and almost completely through all of the layers of peel, but not quite.  You want to be able to use that cut to help you peel the onion, by grabbing that cut mass of dry peel and peeling it toward the root ball.

You may be able to get all of the peel off this way, but another easy option it to cut the onion in half from end to end (from the tip of the dry peel to the end with the root mass).  Then you should be able to peel the onion very easily from each half.  It is extremely important to halve the onion, so that it doesn't roll around in the following steps, which would be a dangerous way to cut.

After peeled and cut in half,  make even cuts of whatever thickness you need going almost all the way to that root mass.  You want to avoid going all the way through, because that root mass is holding your pieces together to make it easier to cut in the opposite direction, which is the next step.

Once you have your even cuts to the root ball, make cuts of the same thickness going in the opposite direction, giving you diced pieces of onion.  Even if you don't need diced onion, you can still start off by making cuts toward your root mass and then cut off the root mass to dislodge your slices.  I find that using that method to help hold all of the onion slices in place is safer for me than dealing with onion layers that keep slipping around.  Or if you want thinner onion slices, you could skip making the cuts toward the root mass and make thin slices in the perpendicular direction that I use for the final dicing step.

I usually store my onions in a dark pantry, away from other food so that my other food doesn't absorb the onion flavor.  My final tip is to place the onion in the refrigerator or freezer for a bit before you plan to cut your onion, especially if you will be cutting multiple onions.  This can really help with the intensity of the onion fumes, so you won't tear up as badly.  Happy chopping!

Taste of Belgium Serves Winning Brunch


        I know you think of it as “the waffle place,” and it’s true.  Their waffles are amazing and even better when they serve them warm with berries and fresh whipped cream, or with bananas and Nutella.  However, there is way more going on at Taste of Belgium than their waffles, and I highly recommend going there for weekend brunch.  

To start, they really have incredible coffee.  It’s always just the right intensity and really hits the spot on a weekend morning after a long night out.  They also serve traditional breakfast cocktails, like mimosas. They make wonderful crepes with fresh ingredients, which are great for a light morning meal.  The lavender sugar and lemon crepe is an excellent adventure, but it's not for everyone.

Another delicious option is the Mitraillette, which is a lamb sausage sandwich on a baguette, with chipotle mayo and served with frites (fries).  All of their sandwiches are very fresh. But if you know me at all, you know that I like my breakfast late and heavy.  And that’s where the Goetta Hash comes into play.  It’s delicious.  I don’t care if you think you don’t like goetta, you have to order this hash.  It comes in a bowl with a fried egg on top, which makes this wonderful creaminess when everything is mixed together along with the onions, peppers, and cheese and it reminds you of what morning must have looked like growing up on a farm with a mother who loved you and had growing boys to feed.  I’m telling you, I wish I were a growing boy with unclog-able arteries so that I could eat a breakfast like this every morning.  

If that isn’t enough to satisfy your appetite, try the Brunch Burger, a big piece of beef, covered with a slice of cheese, bacon, a fried egg, and a pancake, all smothered with local maple syrup within a hamburger bun and served with frites.  The sweet and salty savory combination is incredibly rich and really only appropriate for brunch. I promise I strive to be an everyday vegetarian, but this place always tempts me out of my PETA-approved weekday diet into a shameless carnivorian frenzy. Rest assured, eco-minded among you, their meat it locally sourced. I could never eat it as part of a guilt-free, three meal day. This is something I would love to re-create at home, especially for kids, or in a smaller slider version for a late-night Saturday snack.  

     Taste of Belgium is definitely one of my first choices for brunch.  I like to sit outside to people-watch, but their shared chef's table also offers a unique dining experience. Arrive early.  They fill up fast.